Sponsored Link
Vesta Control Panel stores data in the form of key and value pairs and uses flat files for that. This means that you can examine any file without special tools. If the data doesn't look right, you can use your favorite text editor to modify it. The real power of text files becomes apparent when you use pipes. Use pipes with tools such as: sed, awk, ls, grep, cat, more, tr and various other text-based tools and you will find a way to get beyond the system.
Features
Web Server
DNS server
Database Server
Mail Server
FTP Server
Nginx out of the box
SSL certificates & SNI
Wildcard support
Configuration Templates
DKIM support
Fast Backups
Easy update manager
System Monitoring
AntiSpam / Antivirus
WHMCS billing support
Simple and Clean GUI
Powerful CLI & API
Secure Platform
GPL v3 License
Autoupdates
Install Vesta on ubuntu 14.04 server
You need to download the vesta installation script using the following command
curl -O http://vestacp.com/pub/vst-install.sh
Once you downloaded the script you need to change the permissions
sudo chmod 755 vst-install.sh
Now you need to start the installation script using the following command
sudo bash vst-install-ubuntu.sh --force
You’ll be asked to answer simple questions in order to install it on your managed server/VPS.
First, enter Y to proceed installation. Enter the valid Email address, and Enter your VPS FQDN. The FQDN will be selected by default. If you wish to change it, enter your VPS FQDN manually, else just hit the enter key.
This will install all the required packages on your managed server/VPS.After completing the installation you should see similar to the following screen
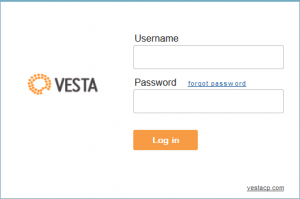
Now you can access vesta control panel using the following
https://server-ip-address:8083
Enter admin and password provided in the installation last step.Once you logged in you should see similar to the following screen


Couldn’t find repository.
Today is July 12.th, 2017.
I’m currently running Ubuntu 17.04 with Apache 2.4 and php 7.1.
Can I expect an update soon, or do I need to downgrade to Ubuntu16.10?