

This tutorial will allow you to access your ext3 partition under Windows, using Sun VirtualBox and Ubuntu.
The tutorial is pretty long due to the images, but they explain things easier sometimes (they are not just meaningless screenshots) (forgive me for your scroll button :P)
I tested this on Windows Xp, using my Ubuntu Linux's root partition for test purposes and everything went ok, but be aware:
Warning
Raw hard disk access is for expert users only. Incorrect use or use of an outdated configuration can lead to total loss of data on the physical disk. Most importantly, do not attempt to boot the partition with the currently running host operating system in a guest. This will lead to severe data corruption.
as stated in the VirtualBox manual!
download and install sun virtualbox for windows
(http://www.virtualbox.org/wiki/Downloads)
download the 32-bit ubuntu server edition
(http://www.ubuntu.com/getubuntu/download-server)
open up a windows command prompt (Start Menu > All programs > Accessories)
change into to the sun virtualbox folder:
cd "C:\Program Files\Sun\VirtualBox"
(tailor this if you have a non-standard Windows or VirtualBox installation)
find your ext3 partition:
VBoxManage internalcommands listpartitions -rawdisk \\.\PhysicalDriveX
(where X should be 0,1,... depending on which hdd you want to use)
(tip: ext3 partition type is 0x83)
create a special image which points to your partition:
VBoxManage internalcommands createrawvmdk -filename \path\to\file.vmdk -rawdisk \\.\PhysicalDriveX -partitions Y,Z
(where Y, Z should be the partition number(s) you found out before, and filename is self-explanatory, but should end with .vmdk)
set up a virtual machine in virtualbox:
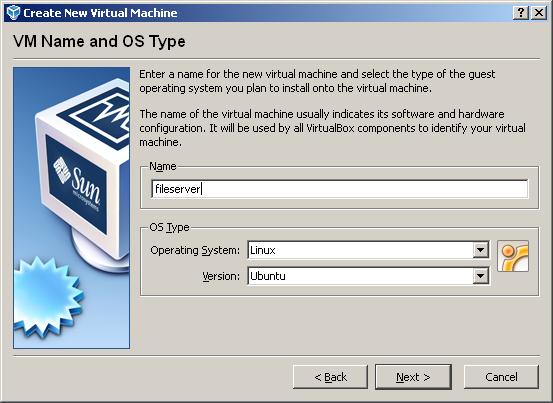
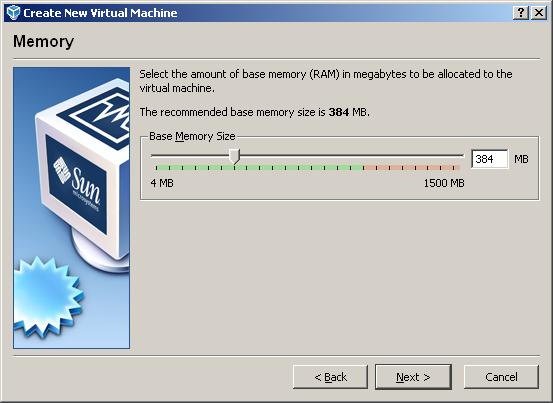
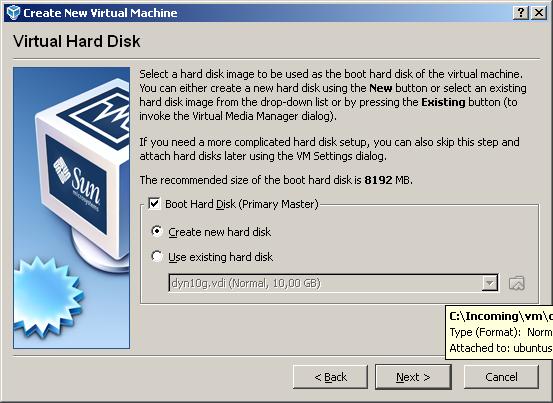
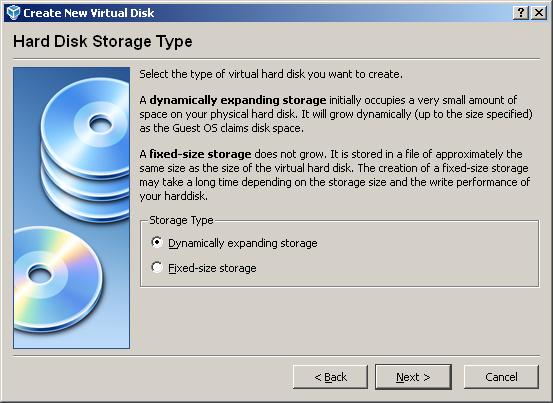
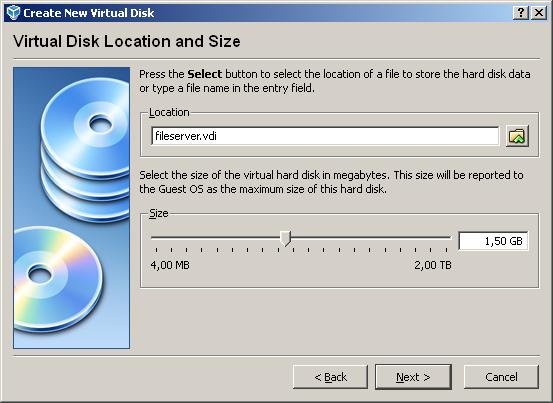
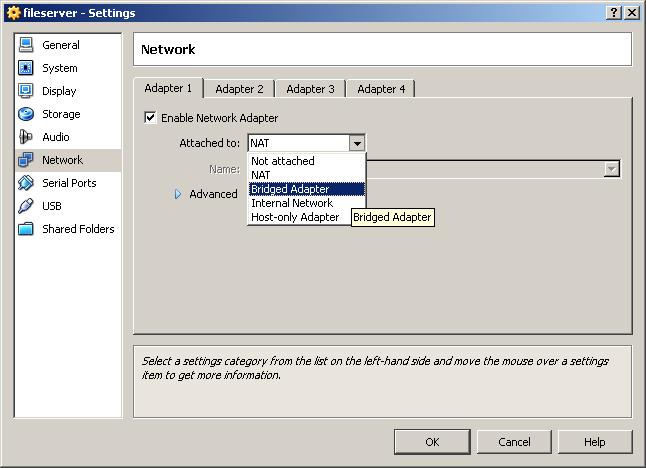
select your virtual machine and click on settings:
set up networking:
"insert" your ubuntu server install cd into the virtual machine:

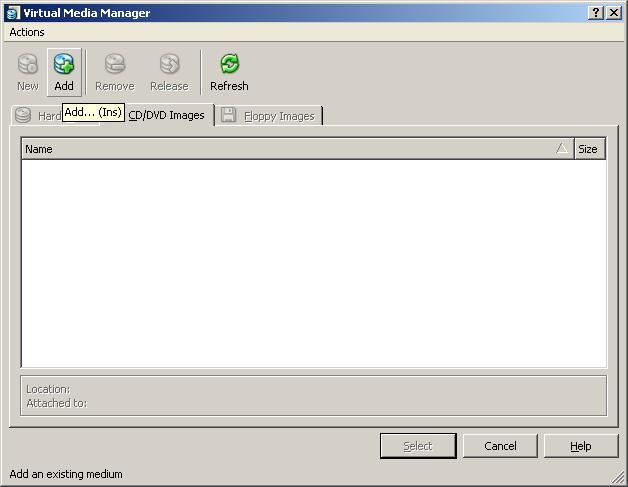
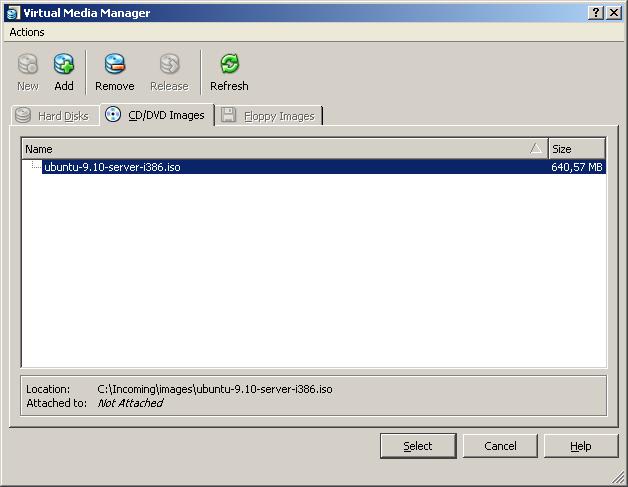
start up your virtual machine and install ubuntu server:
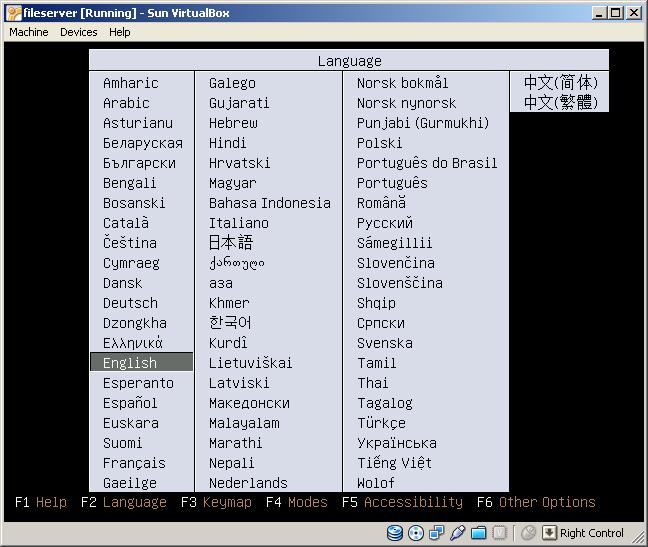
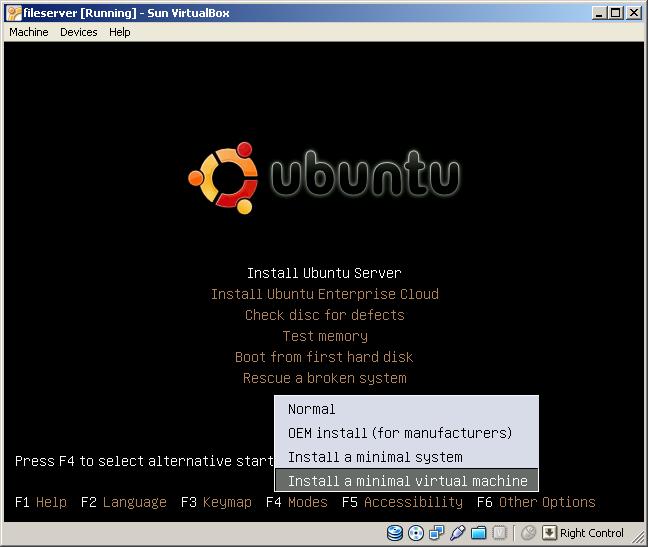
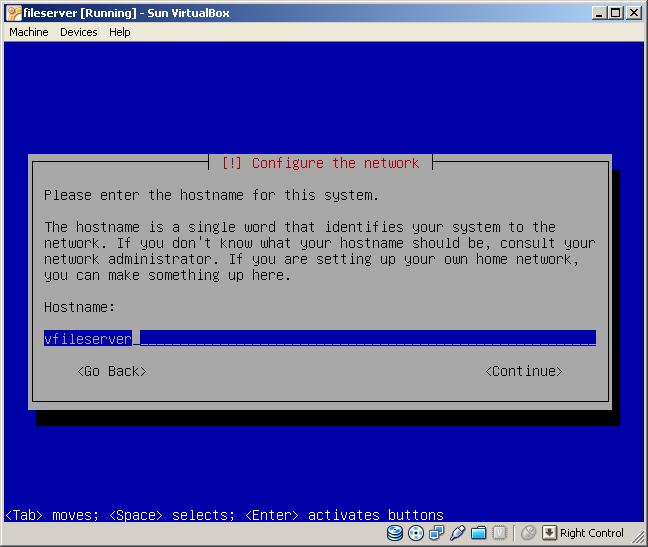
select your keymap, and select the install mode:
the install is pretty self explanatory, you shouldn't have problems with it
choose samba file server and openssh server when asked
unmount the install medium and boot into your new system
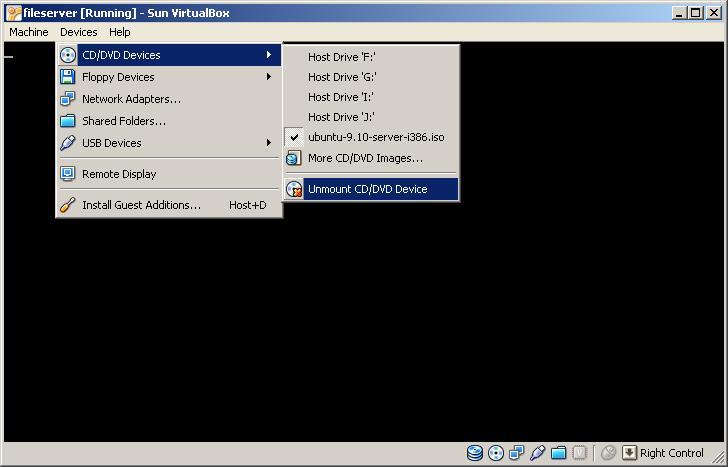
update your system (optional), install some additional stuff(required):
sudo apt-get update (optional)
sudo apt-get dist-upgrade (optional)
sudo apt-get install screen nano mc htop
screen > allows multiple terminals to be opened easily
nano > easier to use than vim in my opinion
mc > just like norton commander or total commander
htop > easy process management
stop your virtualmachine and add the physical patrtition‘s image to the virtual machine
(image should be added to available images in virtual device manager first)
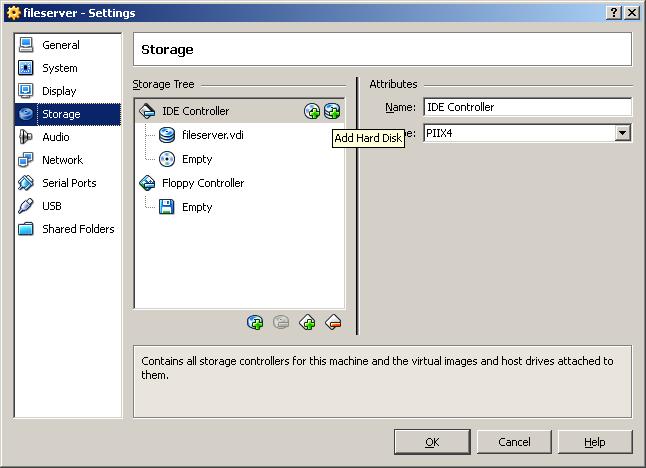
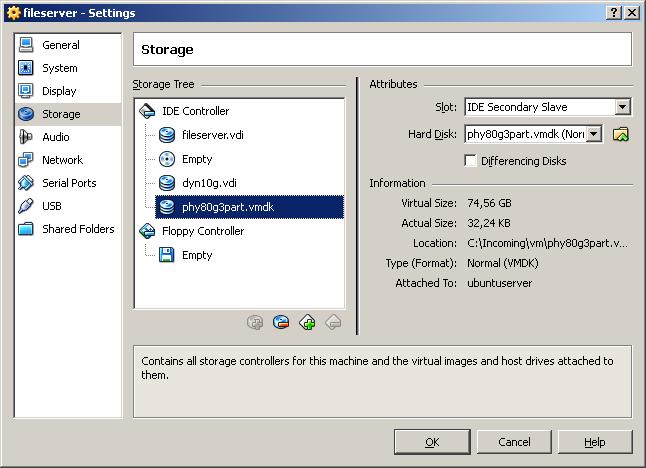
boot up your server again
make a new directory for the shared partition
cd /
mkdir sharedpartition
chmod 777 sharedpartition
edit your fstab to auto-mount the partition at every startup:
sudo nano /etc/fstab
add the following
/dev/sdXY /sharedpartition ext3 relatime,errors=remount-ro 0 1
(where X should be a,b,... depending on hdd number, and Y should 1,2,... depending on partition number)
edit samba configuration:
sudo nano /etc/samba/smb.conf
change your workgroup to be the same as your windows one, and uncomment the security line:
workgroup = yourworkgroup
security = user
add this to the end:
[SharedPartition]
comment = The shared physical partition
path = /sharedpartition
browseable = yes
writeable = yes
valid users = tutorial
now add and enable this user to samba
sudo smbpasswd -a tutorial
sudo smbpasswd -e tutorial
restart samba with
sudo /etc/init.d/samba restart
Enjoy!
P.s:
You can share multiple partitions and/or different filesystems too.