
Sponsored Link
Install Virtualbox 2.0.2 in Ubuntu Hardy
First you need to download virtualbox .deb package from here

In download dialogue, select Open with GDebi Package Installer (default)

After the VirtualBox has been downloaded, a Package Installer window opens. Click on Install Package

You need to enter your root password click ok

Downloading additional package files in progress
Install dependencies in progress

Installing package file in progress

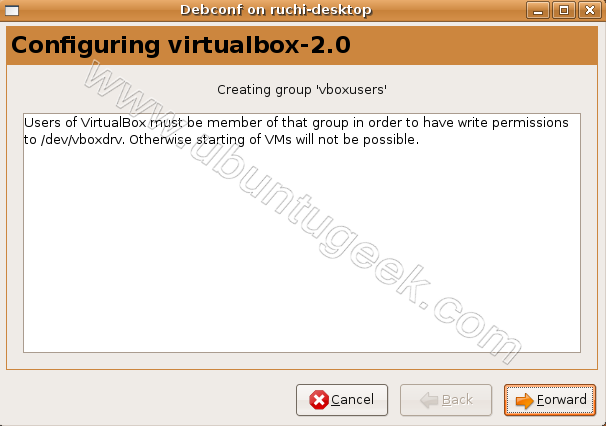
This message is telling users of virtualbox must be member of that group we will address this in next steps
here click on Forward
Installation finished click on close

Now we need to add the desktop user (ruchi in this example) to the vboxusers group, we must open a terminal (Applications > Accessories > Terminal)

To add the user ruchi to the vboxusers group, use the following command
sudo usermod -G vboxusers -a ruchi
in the terminal and press enter.

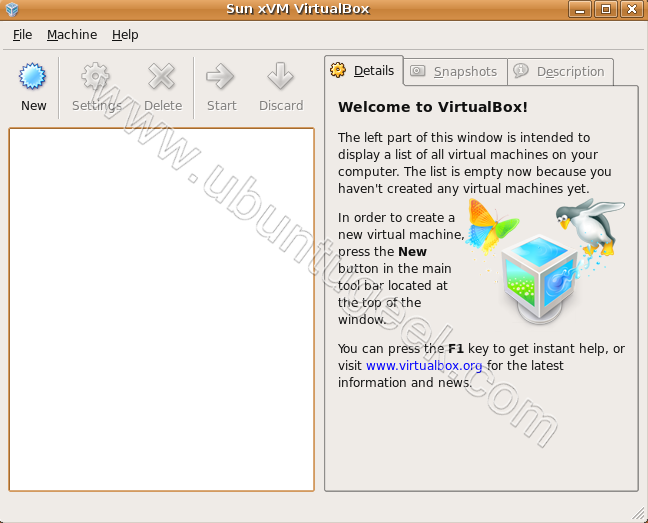
To start VirtualBox, go to Applications--->System Tools--->Sun xVM VirtualBox.If you don't see this just logout and login back

When you start VirtualBox for the first time, you are prompted to accept its license click on I Agree

Now type in your name and email address to register your VirtualBox installation

That's it your VirtualBox is ready to create virtual machines
You said in your post: “Not only is VirtualBox an extremely feature rich, high performance product for enterprise customers, it is also the only professional solution that is freely available as Open Source Software under the terms of the GNU General Public License (GPL).”
The version of Virtualbox that you link to is NOT OpenSource – that is the proprietary version provided by Sun. The Open Source Version, virtualbox-ose is in the repositories.
Although the virtualbox-ose package in Hardy is still a 1.x package, 2.0.x is available in Intrepid.
Also, if you DO want the non-opensource version, Sun offers Ubuntu/Debian repositories as well that you can add to your /etc/apt/sources.list (These are listed here: http://www.virtualbox.org/wiki/Linux_Downloads). This allows you to install (Sun’s Proprietary) VirtualBox with apt-get, aptitude, Synaptics, Adept, etc. It’s listed as “virtualbox-2.0” once you add the correct repo.
VirtualBox is indeed a very useful tool, especially when there is a need to fallback to Windows. Thanks for sharing, not many know of this useful tool.
1/ there is a gui to add users in group (system/admin)
2/ you just don’t talk about usb support (not ready in virtualbox)
3/ look in ubuntu wiki, it’s better than your article
I understand you. You just want to help ubuntu users. I like your articles because easy to do them. I think Virtualbox is very important if somebody wants to try other systems. I wish you the best!
Ferenc from Hungary
@ John
To get USB working you have to use the none-ose version of virtualbox. The package which is described in this tutorial is the non-ose version.
But that’s unfortunately not the whole thing. You also have to activate the usbfs system. After this little intervention usb should work.
There is a nice tutorial on http://wiki.ubuntuusers.de/VirtualBox/Benutzung#USB-Geraete-verwenden
It can be done very easily in just one command line. You can see it on http://sliceoflinux.wordpress.com/2008/11/28/anadir-virtualbox-a-los-repositorios-e-instalarlo-en-una-linea/. Don’t worry about the language (it’s in Spanish) because you just have to copy the command line.
I hope it’ll help you.
Nice introduction. At least when people look at this post they’ll know that apart from VMWare and VirtualPC, there’s another option available for them 🙂
I am just download .I didn’t how it is work?
Thanks